Quick tech specs
- minate cable stress in your rack while making equipment easier to access,with this 6 ft. vertical cable management panel that splits into two 3 ft. sections
- Vertical cable management panel / Vertical cable organizer / Finger Duct
- Promote passive cooling in your rack by organizing cables to improve airflow
- Works with racks and cabinets that are 40U or larger
- Improve the appearance of your rack using a vertical cable manager with finger ducts
- Eliminates cable stress put on equipment
Know your gear
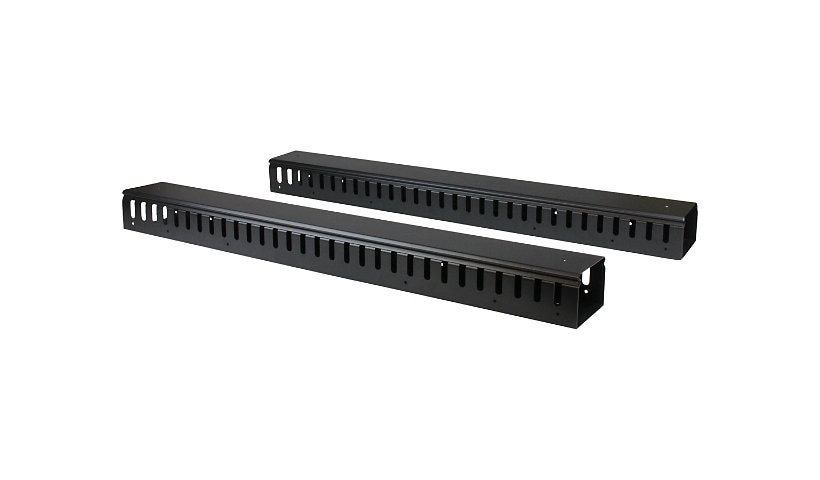
Organize your cables in any rack or cabinet that's 40U or larger, using this vertical cable management panel. This 6-foot vertical cable manager (2 x 3-foot panels) gives you a simple and space-efficient way to organize the cables in your server rack. You can attach the two-panel cable manager vertically into your rack, to neatly guide cables between equipment that's mounted at different heights.
The 0U cable manager offers versatile installation options and is compatible with most racks that are 40U or larger. The panels feature a 0U design that doesn't take up any mounting space, and with simple tool-less installation, they're easy to attach or reposition as necessary.
The vertical cable manager uses a finger-duct method of cable management, which includes a cover panel that neatly conceals the cables that are running through it.
Having well organized and routed cables not only improves the appearance and accessibility of your rack, it also makes it easier for you to install, access and maintain rack components.
This versatile cable management system consists of two 3-foot panels, so you can configure each panel as needed to accommodate all of your equipment. You can install the individual panels end to end (top to bottom) so that they span the height of your rack, or on either side or the front and back of your rack to manage cables in multiple locations.
The two-piece cable manager runs vertically along the side of your rack, to neatly guide cables between equipment that's mounted at different heights. This provides a tidy and well-organized way to run cables from devices mounted toward the bottom of your rack to other devices mounted near the top, without leaving a mess of cables hanging in between.
For maximum compatibility with virtually any server rack, you can install the cable-management panels using mounting holes that are commonly found on most rack equipment. The tool-less mounting method attaches the cable management panel to the keyhole-shaped mounting holes that are built into your rack.
The horizontal mounting rail method attaches the cable management panel to the horizontal mounting rails that run along the side of your rack.
For racks that don't support these installation methods, you can also mount the cable management panels through other means, such as using the non-standardized holes found on your rack walls and enclosures, or the rack units on equipment mounting rails.
Routing your cables through a panel reduces the tension that's often put on cables. This prevents cable damage or connection loss, and reduces strain on equipment ports, preventing damage to your expensive rack-mounted devices.
Properly routing cables also improves airflow, which passively cools devices stored in your rack, helping to keep your equipment running at optimal temperatures to reduce the probability of damage caused by your rack overheating.
Add to Compare
